Upcycling Secondhand Furniture: 7 Easy DIY Makeovers for Your Local Finds
That solid wood dresser someone listed for $40 down the street might look tired today, but with a weekend and a few supplies it can become the piece everyone asks about. Upcycling secondhand furniture is one of the most affordable ways to give a room real personality, and local listings are full of sturdy pieces waiting for a second life.
Here are seven beginner-friendly makeovers, plus what to look for when you shop, so your next find goes from “dated” to “designed.”
Start With the Right Find
A great makeover begins with a good bone structure. When browsing local listings, look for:
- Solid wood or quality veneer – it sands, paints, and holds hardware far better than particleboard.
- Sturdy joints – give it a gentle wobble test. Loose legs can be re-glued; a warped frame usually can’t.
- Drawers that slide – sticky runners are fixable with wax, but broken ones add work.
- Interesting shapes – curved legs, carved trim, or unusual proportions shine once refreshed.
- Surface damage only – scratches, water rings, and faded finishes are exactly what a makeover fixes.
Ask the seller about smoke, pets, or pests before you pick up, and bring a tape measure so you know it fits your space.
7 Easy DIY Makeovers for Secondhand Furniture
1. Chalk Paint Refresh
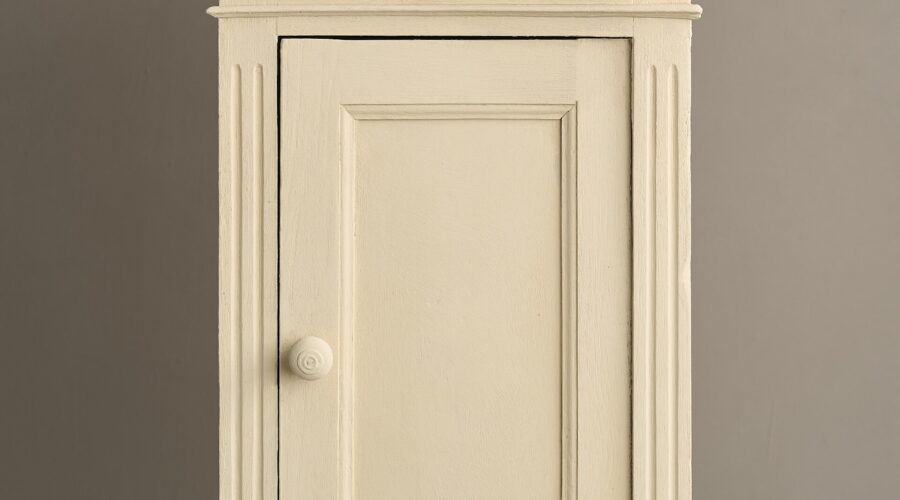
Chalk-style paint is the classic beginner project because it often needs little or no sanding. Clean the piece well, apply two thin coats, then seal with clear wax or a water-based topcoat. Soft sage, warm white, or deep navy instantly modernize an old nightstand or side table.
2. Swap the Hardware
The fastest makeover of all: new knobs and pulls. Brass, matte black, leather tabs, or ceramic knobs can completely change a dresser’s style in under an hour. Measure the distance between existing screw holes before buying pulls, or fill old holes with wood filler if you’re changing sizes.
3. Two-Tone Contrast
Keep a natural wood top and paint the base, or paint the drawers one color and the frame another. Two-tone finishes feel custom and are a smart way to keep beautiful wood grain while hiding a damaged section.
4. Strip and Restain
If the wood itself is lovely, let it shine. Sand off the old finish (start at 80-grit, finish at 180–220), wipe away dust, and apply a stain or simply a clear oil. A mid-century chair or a farmhouse table often looks brand new with nothing more than this.
5. Line the Drawers and Shelves
Peel-and-stick wallpaper or patterned paper inside drawers, on bookcase backs, or across a cabinet’s interior adds a pop of surprise. It’s renter-friendly, removable, and a great way to test a bold pattern without committing a whole wall to it.
6. Reupholster a Seat
Dining chairs with drop-in seats are a perfect first upholstery project. Unscrew the seat, wrap it in new fabric (add fresh foam if needed), staple it underneath, and screw it back on. A set of mismatched secondhand chairs in coordinating fabrics makes a charming dining nook.
7. Give It a New Job
Some of the best upcycles are about function. An old dresser becomes a bathroom vanity or TV console, a ladder turns into a blanket rack, a crate becomes a nightstand, and a sturdy door can be a desk top. Think about what your room needs, then browse with that purpose in mind.
Supplies Worth Keeping on Hand
- Degreasing cleaner and lint-free rags
- Sandpaper or a sanding block (80, 120, and 220 grit)
- Wood filler and a putty knife
- Painter’s tape and drop cloths
- A quality angled brush and a small foam roller
- Primer for slick or stained surfaces
- Clear sealer (wax, polycrylic, or furniture oil)
- A screwdriver set and a staple gun
Tips for a Finish That Lasts
- Clean first, always. Paint won’t stick to grease, polish, or dust.
- Test a small spot. Some older finishes bleed through paint, so a stain-blocking primer may be needed.
- Use thin coats. Several light coats look smoother and cure harder than one heavy one.
- Respect drying time. Let paint cure fully before loading drawers or placing décor on top.
- Work safely. Sand in a ventilated area with a mask, and be cautious with very old pieces that may have lead paint—test kits are inexpensive.
Where to Find Pieces Worth Upcycling
Local listings are your best source: neighbors moving out, downsizing, or redecorating often sell quality furniture at a fraction of its value. Estate sales, garage sales, and community swap meets are also goldmines. On P6D.net, you can browse nearby furniture and home listings, message sellers directly, and arrange a quick local pickup—no shipping and no waiting.
And once your makeover is done? Many hobbyists list their finished pieces too, turning a weekend project into a fun side income.
Final Thoughts
Upcycling is good for your budget, your home, and the planet—every refreshed piece is one less item in a landfill and one more room with real character. Pick one project from this list, find a solid secondhand piece nearby, and enjoy the satisfaction of a room you styled yourself.